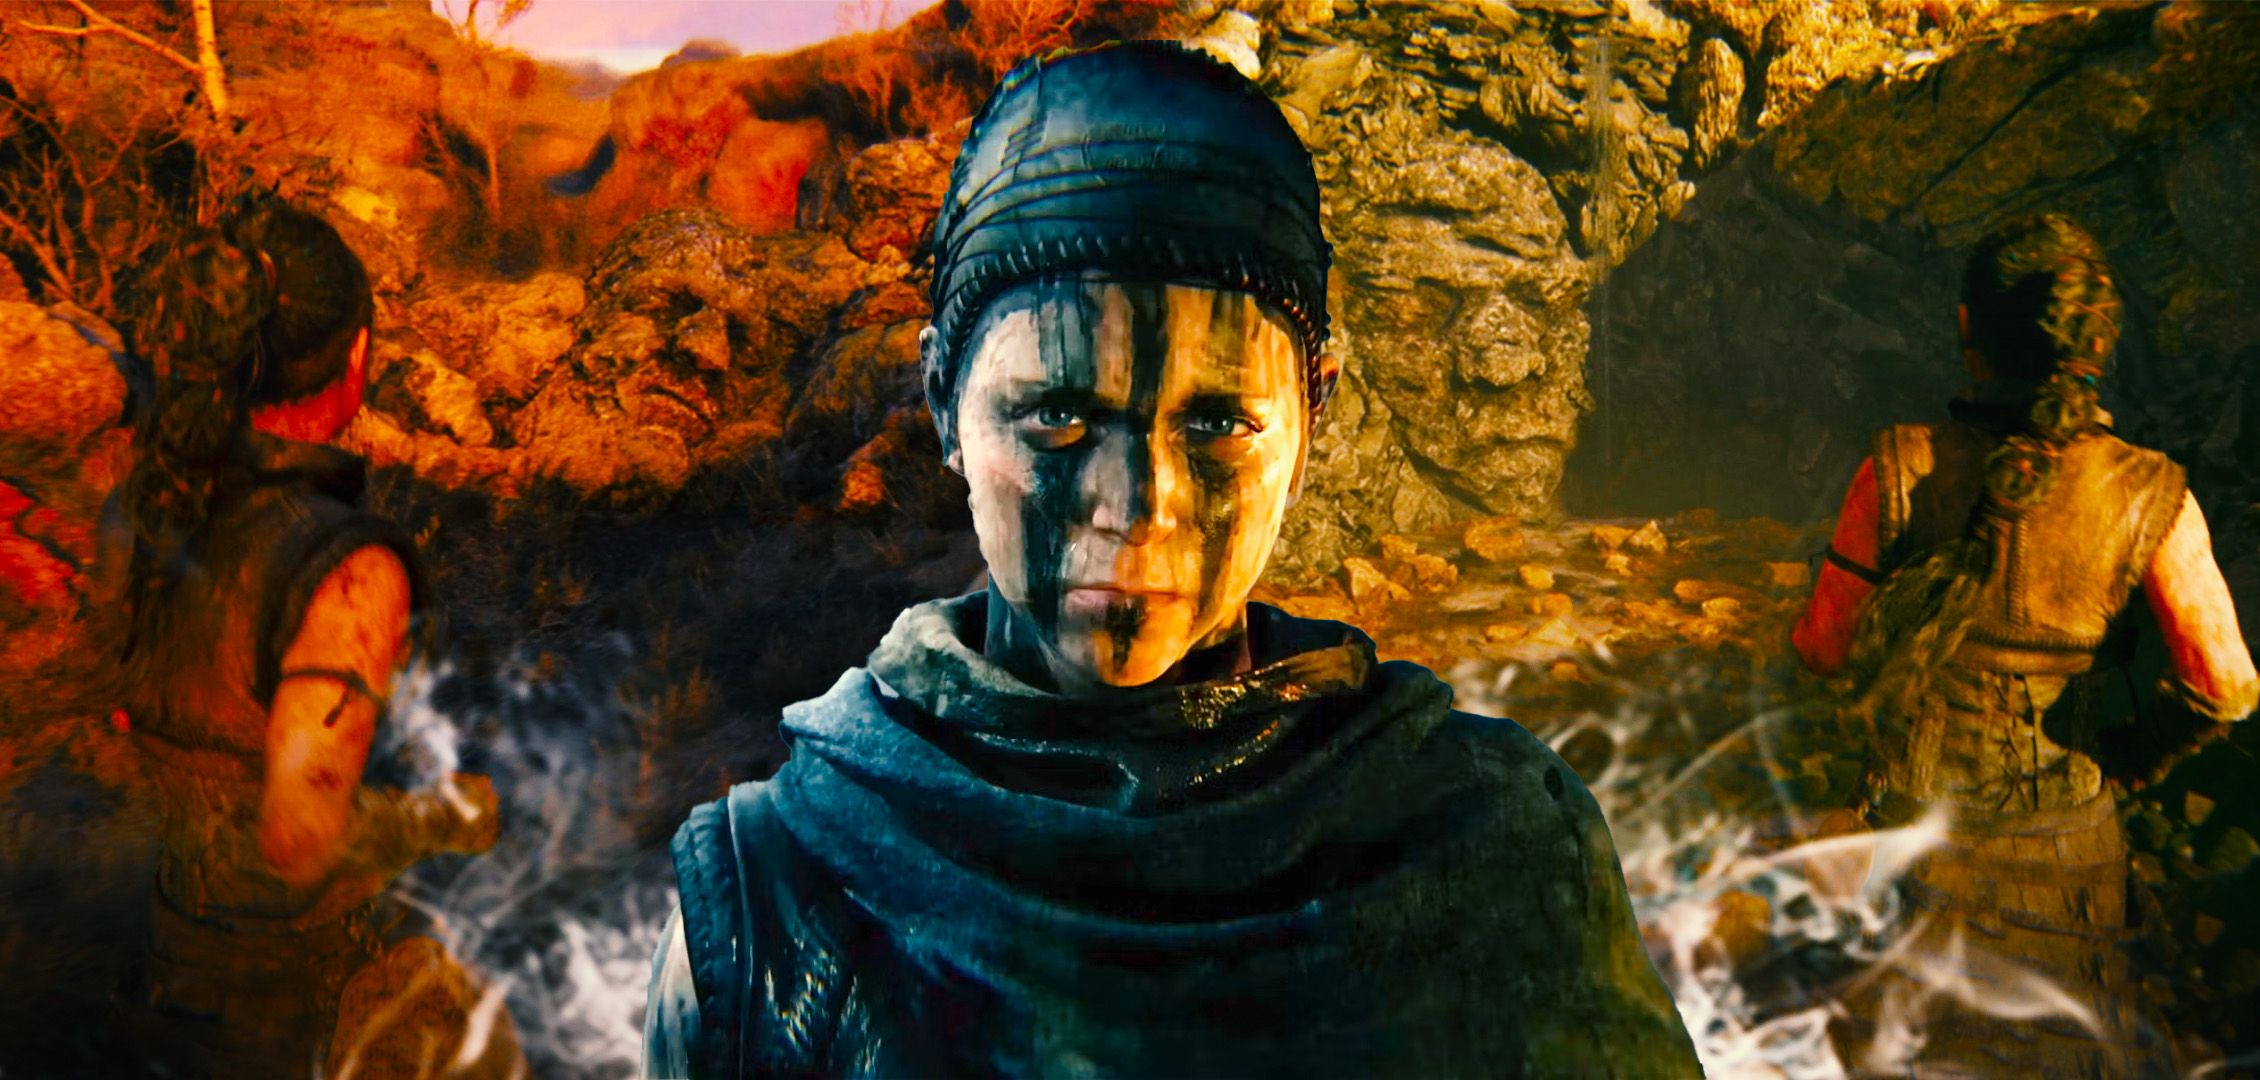
Senua’s Saga: Hellblade 2
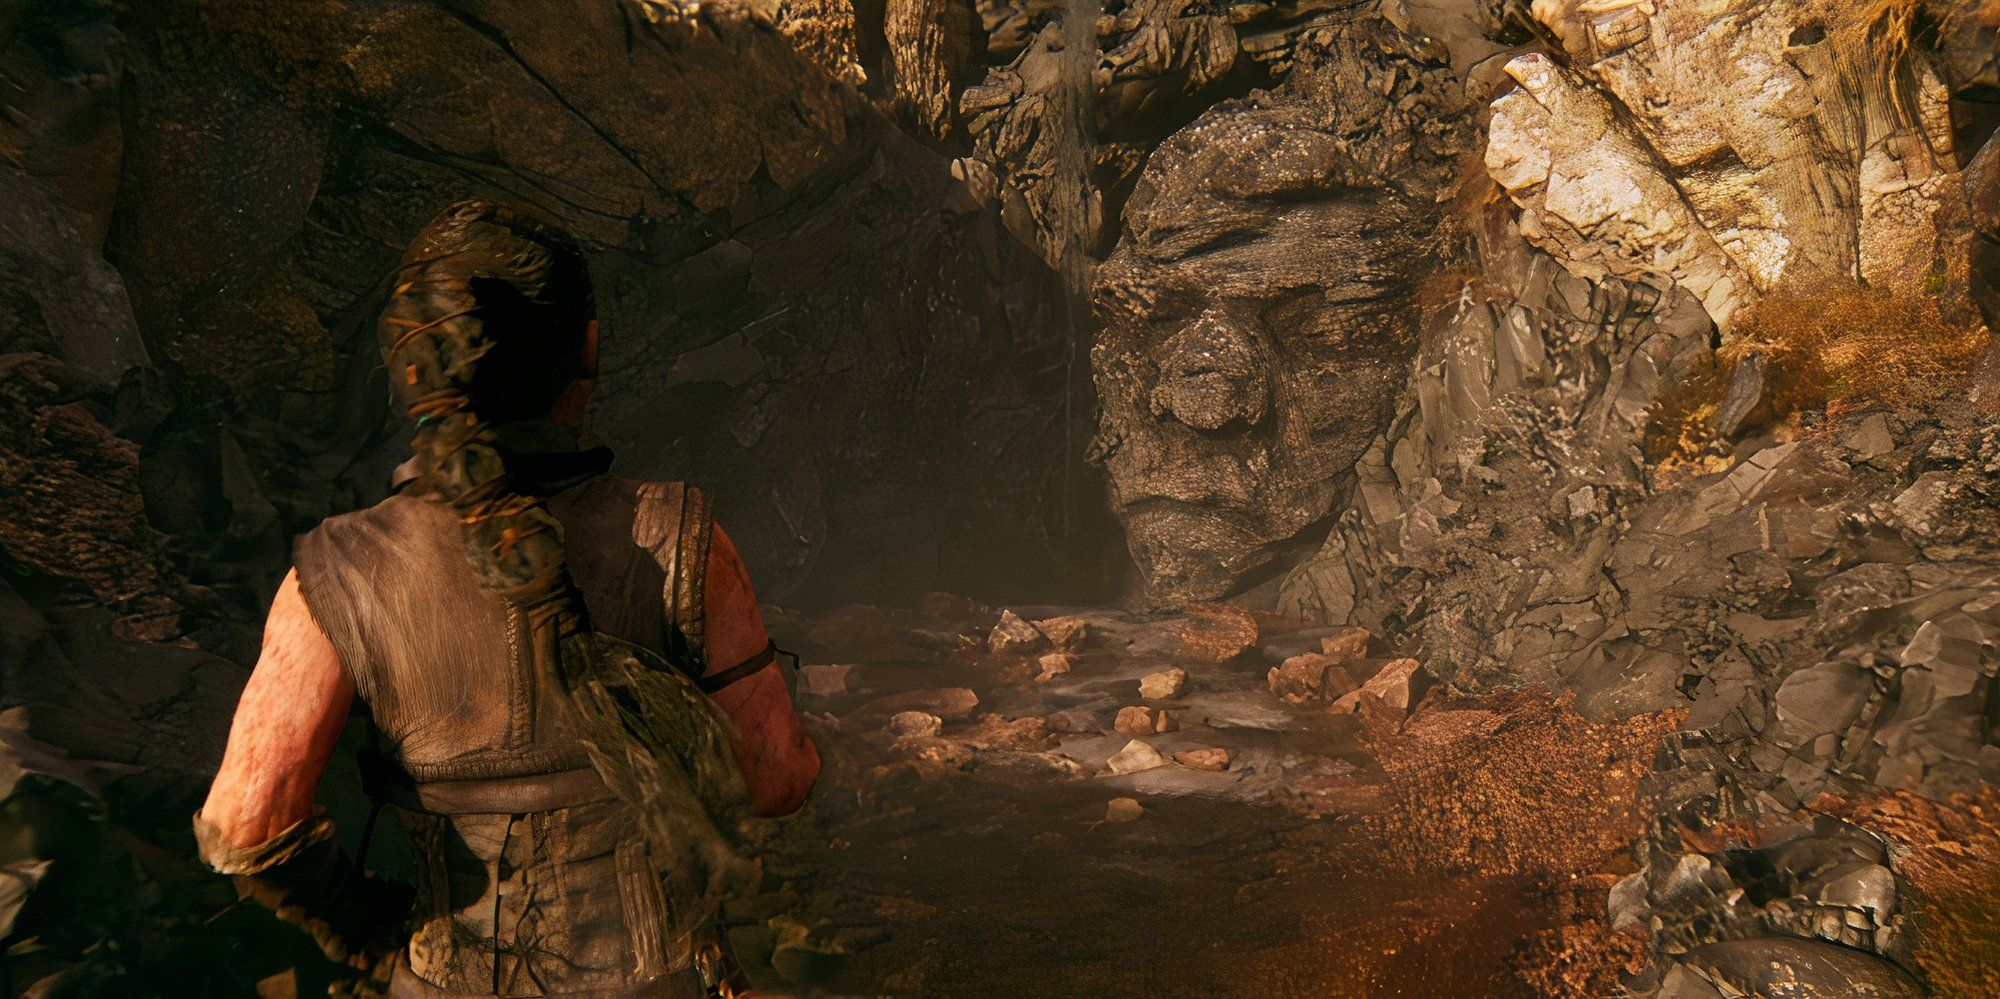
As you extend throughSenua ’s Saga : Hellblade 2 , you ’ll once in a while occur across unpaired faces in the environ rocks . While it may first come across as another one of your many hallucinations , these hidden faces lead toYggdrasil trees , glowing tree nail other collectibles in the chapter . There are seventeen hidden faces across four chapters of the game , each unlocking a hole-and-corner path to the Yggdrasil tree .
The voices in your top dog can help direct you toward hidden faces . When you rule a hidden aspect , whizz along in on it to reveal a surreptitious path . This path will lead you to the next Ygdrasil tree . centre on the tree , and it will start trail collectable . The faces can be tough to recognise among the rest period of the sway , and their sizes vary , but each one depict the same stoic face .
Senua ’s Saga : Hellblade 2 is a prideful return , delving deep into psychosis and Norse mythology while localize it aside from the first biz .

How To Find Every Hidden Face In Hellblade 2
All Face Locations In Every Chapter
Chapters 1 and 6 do n’t have any concealed faces , leaving you liberal to search the beginning andending ofSenua ’s Saga : Hellblade 2without worrying about hard - to - find face in the rocks . Their chapter and sub - chapter organize each face , the portion of the chapter where you first meet the face , making it well-heeled to uncover these secret collectibles and a fantasticstory ofSenua ’s Saga : Hellblade 2 .
Chapter 2 Hidden Faces: Freyslaug
confront #
Sub - Chapter
Location
Custom Image by Katarina Cimbaljevic
1
Return Home
Turn left from the barn with the hanging human being and look correct of the torch .
2
Meeting the Stranger
expect left-hand of the broken bridge after rescuing Fargrimr .
Chapter 3 Hidden Faces: Rauðhólar
3
Red Hills
Look behind the ruined house at the end of the long crack in the ground .

4
Head back the way you came from at the startle of the chapter and see the face in a orotund area of similar - looking Harlan Fiske Stone .
5

On The Hill
front to the left at the ending of the linear itinerary following your give-and-take with Fargrimr about the Hiddenfolk .
6
seem to the right after you complete the puzzle with the two gemstone .
7
On the Hill
point mighty after the three - stone puzzle and climb two ledges to find the next face .
Chapter 4 Hidden Faces: Huldufolk
8
Enter the Caves
Enter the cave with the low cap at the starting signal of the chapter and focus on the left wing .
9
Look behind the brazier in the way with the second gamy torch .
10
Look behind you into the dead end after entering the flood elbow room .
11
Act of Sacrifice
When you figure a room with floating rocks after escaping a lusus naturae , look left to the elephantine cheek in the rocks .
Chapter 5 Hidden Faces: Bardarvik
12
To the Sea
Check near the waterfall at the start of the chapter .
13
Sjávarrisi
While walk with Astrior , look to the right of the tight crack before squeeze through it .
14
Look right off the drop sharpness after completing the glyph puzzler and unlock the track .
15
Another Question
tweet through a gap in the shoreline by the shipwreck . Collect the Lorestangir and look left as you drop dead the cave .
16
In the ravaged settlement , look mighty past the third army hut on the right .
17
Head will before Astrid ’s hovel and reckon near the sting torch at the remnant of the path .
Your Rating
Your comment has not been spare
